How to make custom tap handles for your kegerator
In this article, I will take you through the steps required to make your own custom DIY tap handles for your kegerator.

About a year or so ago, I decided to build my own kegerator. I was inspired by this video on the Homebrew 4 life Youtube channel. I was a little nervous at first, but after a few tweaks here and there I am happy with the end result.
Even though the end result was great, it was still missing a final touch - some custom tap handles. I had a look around online and there are a few places that make great tap handles, but I thought I'd have a go for myself first. It turns out that it was easier than I thought. Believe me when I say this - I suck at DIY projects!
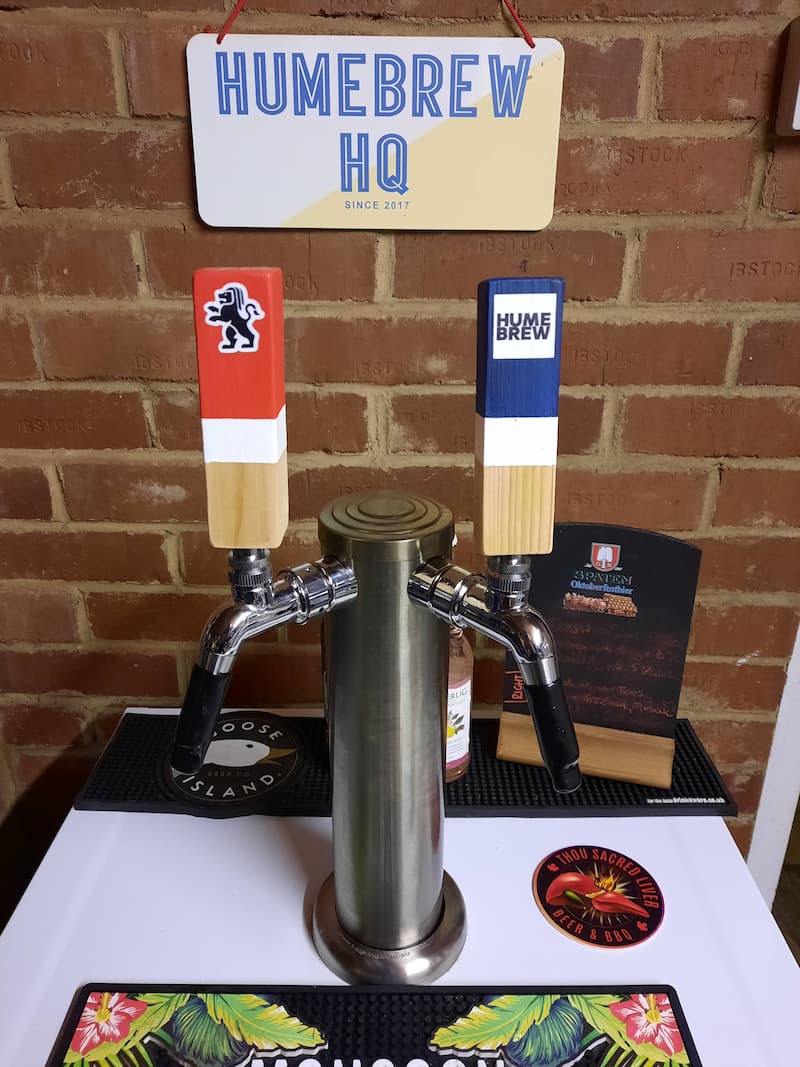
In this article, I will take you through the steps required to make your own custom tap handles. Before we go any further, I am sure you want to see the finished result, so here it is.
Tools you will need
In order to make the custom tap handles, you will need the following tools and equipment:
- A piece of wood
- A handsaw to cut your wood to size
- A drill
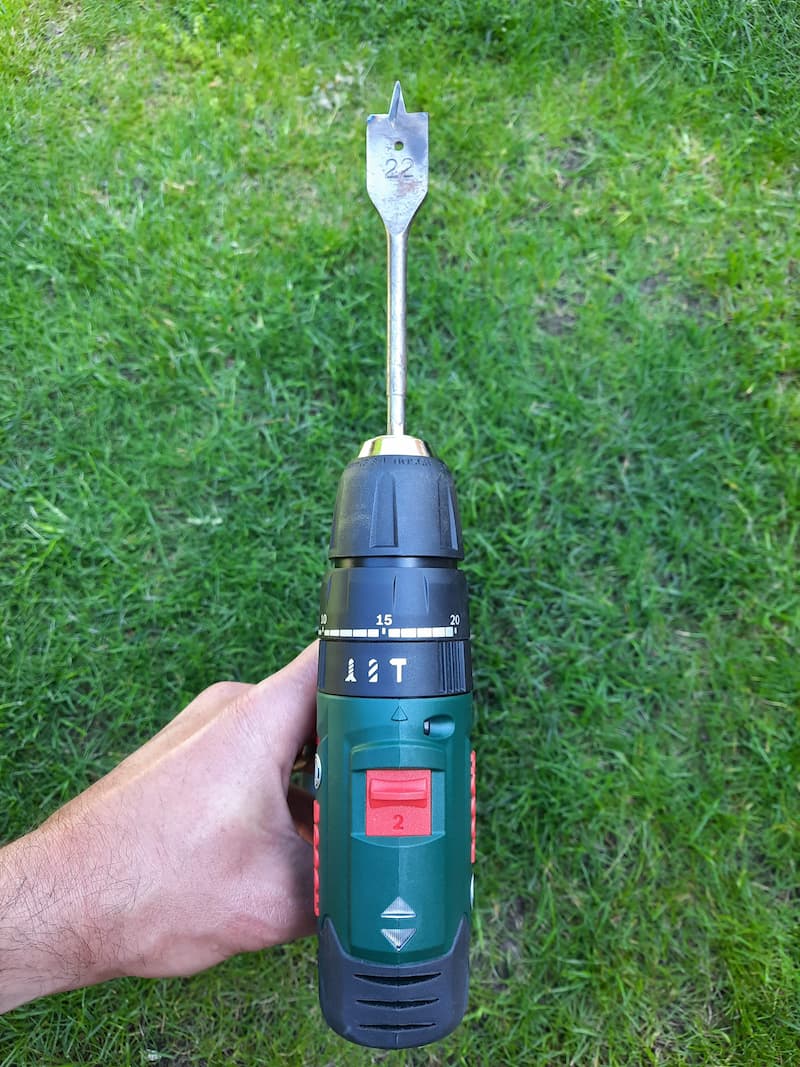
- A flat wood drill bit that looks like this
- Some speed clamps (that look similar to this)
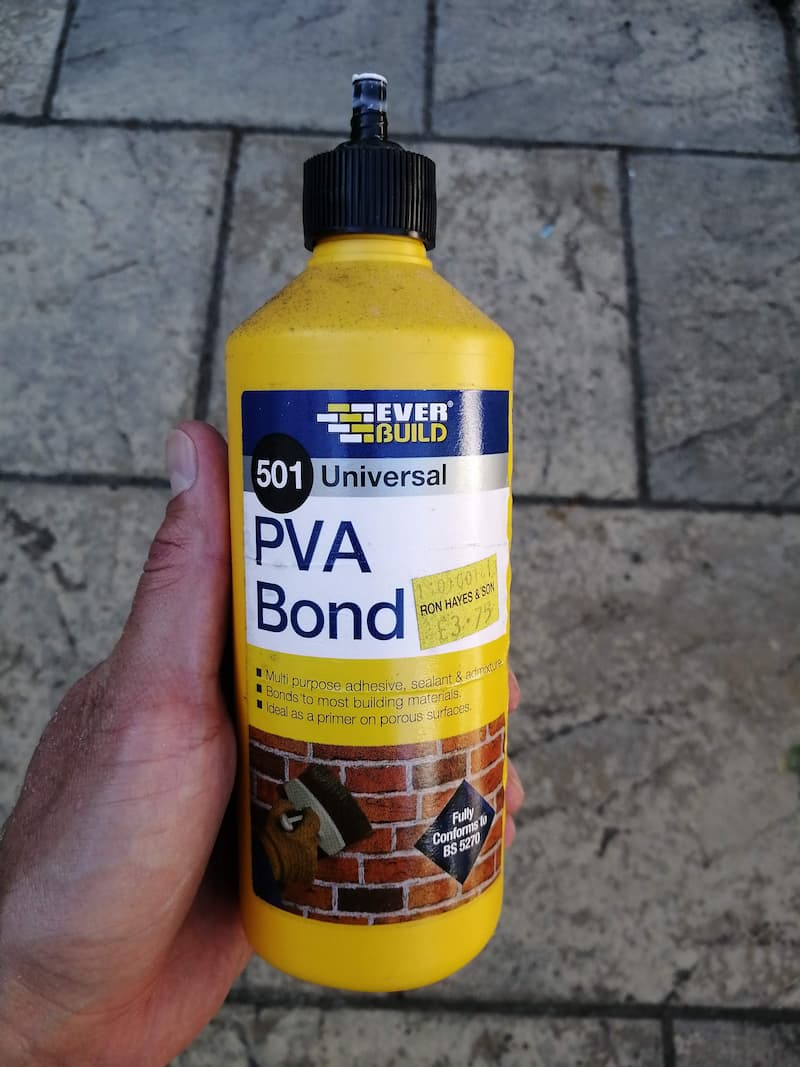
- PVA wood glue
- Tap Handle Dual Threaded Fitting (like this one)
- Fine sandpaper for the rough edges of the wood
- A bit of paint to colour your handles
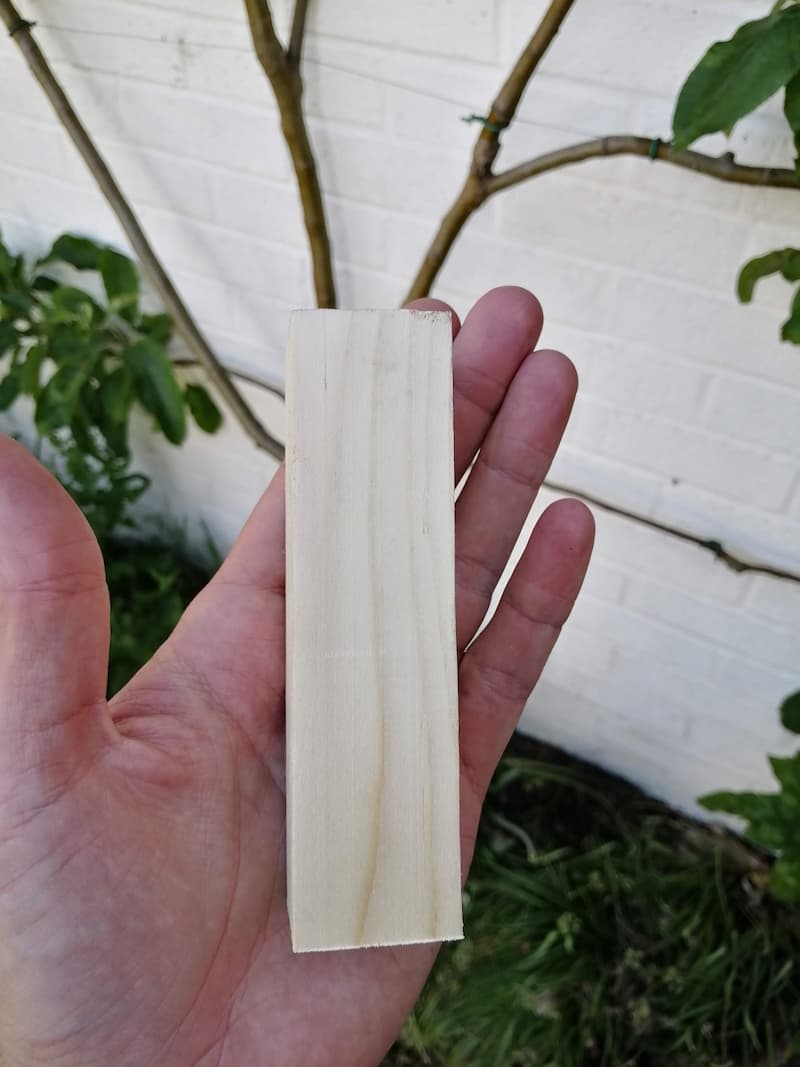
Cut the wood
A neighbour of mine had some blocks of wood left over from a table that he was making that he kindly donated to this project. I started off by cutting the wooden block into the size that I wanted. I went with the size pictured, but you could go longer or shorter depending on the final look you are after.
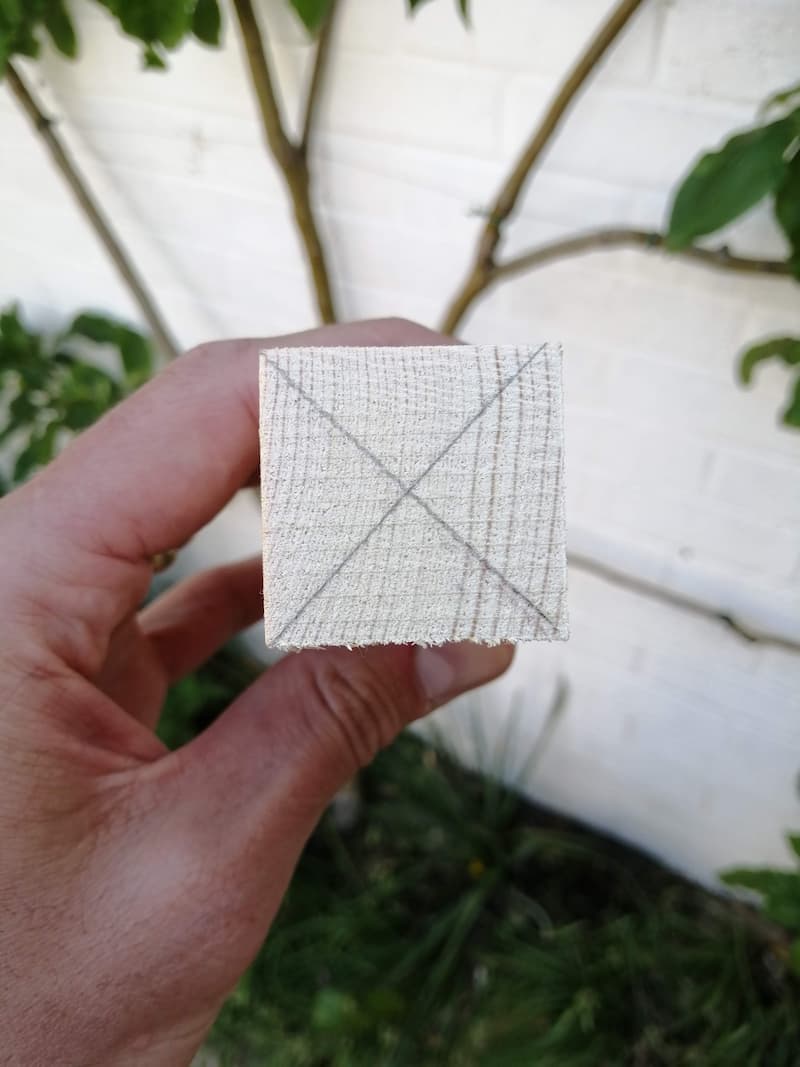
Mark and drill
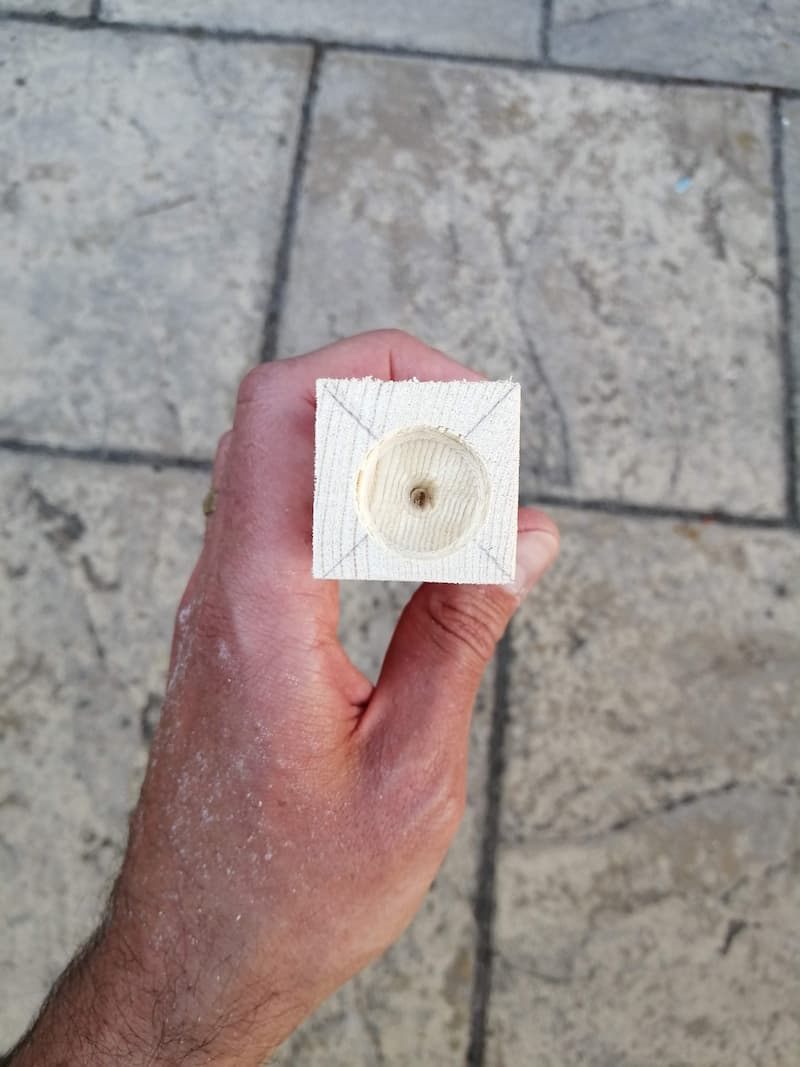
Before going any further, I measured out the piece of wood and marked it where I was going to drill with a pencil.
I used a wood drill bit in my drill and double checked that the sizing worked for the dual threaded fitting.
Next, I used the speed clamps to fasten the wooden block to a table before drilling it, and then went ahead and drilled. I only went about a centimetre or two deep with the drill bit, just enough to line it up with the depth of the threaded fitting. If you look closely at the picture below, you might notice that my aim was slightly off centre - whoops!
Add the threaded fitting
Next up, I added the threaded fitting to the hole that was drilled. Once it is fixed in place, this threaded fitting will be screwed into the top of the tap on the kegerator. I bought mine from the Malt Miller in the UK, but you can find these on most online homebrew stores.
I used some PVA wood glue to fasten the threaded fitting in place and left it for a few hours to dry.
Start painting
With the threaded fitting nicely glued in place, I used some sanding paper to smooth out the rough edges of the wood and give it more of a finished look.
Next, I decided to go ahead and paint the tap handle. I didn't want to get too complex, but went for two different colours so that I could differentiate from what I had in each keg.
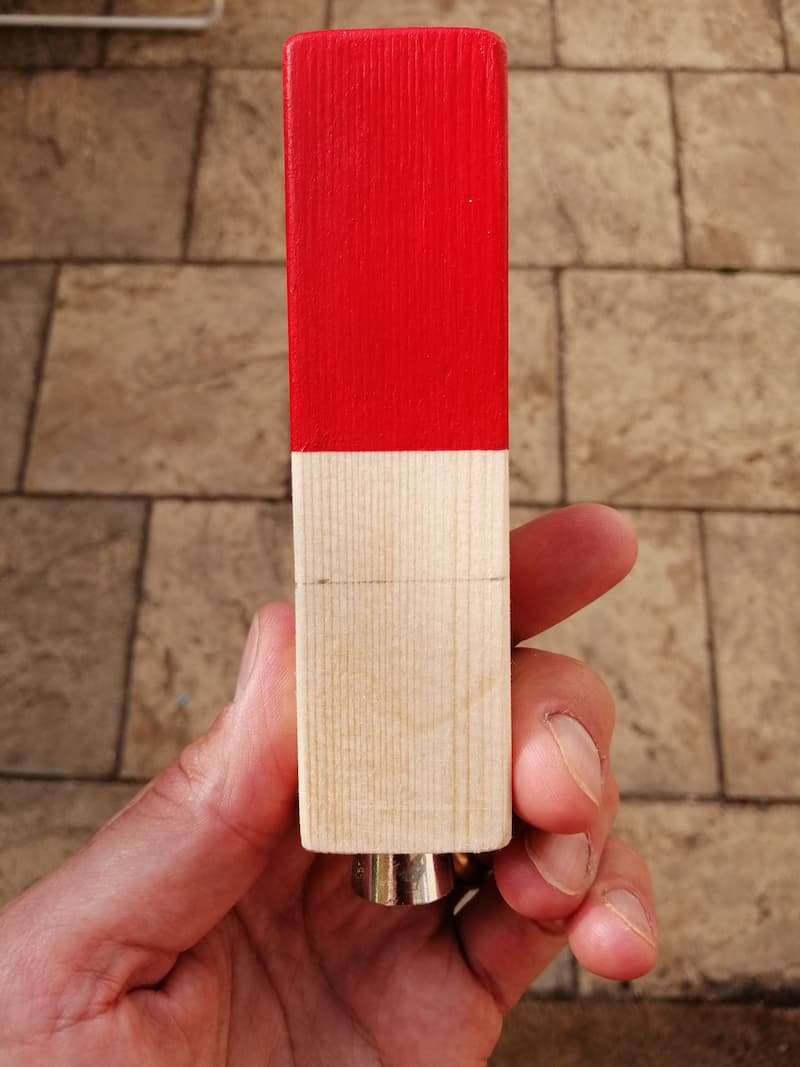
I used some masking tap to ensure that I didn't paint any wobbly lines and removed them once done.
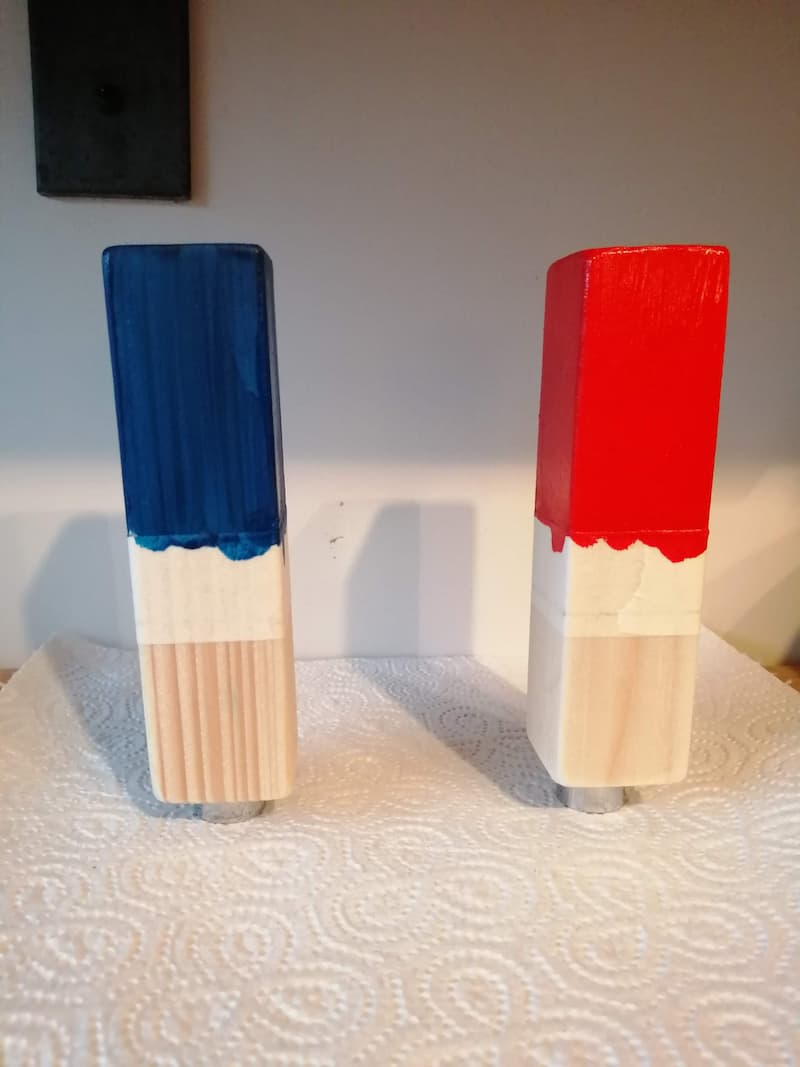
And that's it! Here is the final result again. In order to give it a finishing touch, I also added a sticker with the humebrew logo onto it.
I have considered adding a layer of varnish to "seal" the finish, but I am happy with how it looks for now.
I hope you found this tutorial useful!
Other ideas
Whilst researching ideas and designs for my own tap handles, I came across a few brilliant ideas that are worth sharing and will hopefully inspire you.
Check out these links for more inspiration: