Fermenter King Junior - Review
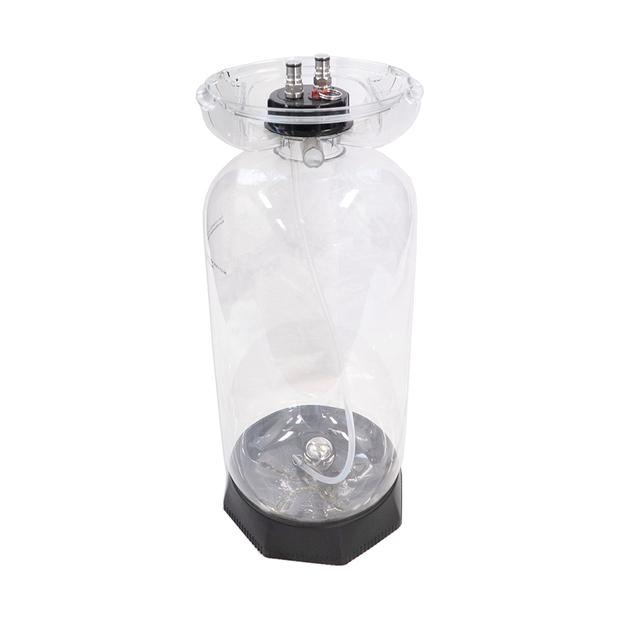
I recently came across the Fermenter King Junior in a youtube video and I thought it looked pretty cool. The idea behind the Fermenter King Junior is that you can ferment and serve your beer directly from it.

Im always looking for ways to improve my brewing. One of the things that I've been focussing on recently has been minimizing oxygen intake throughout the brewing process. I've always been interested in fermenting under pressure, but I haven't had the right gear and to be honest, I've been a little tight to upgrade.
I recently came across the Fermenter King Junior in a Youtube video and I thought it looked pretty cool. The idea behind the Fermenter King Junior is that you can both ferment and serve your beer directly from it.
Before I go any further, it's worth mentioning that this is not a sponsored product. I purchased this with my own money and am leaving an honest review!
In the UK, they retail for around £50 which is pretty decent considering what you can do with it. I bought it from this site online and decided to give it a go. In this article, I'll take you through my thoughts on this piece of equipment and what I have I learnt since using it.
Why ferment under pressure?
There are numerous studies that suggest that fermenting under pressure:
- Suppresses undesired flavours by limiting ester production and diacetyl. In some styles you might be looking to achieve esters, in which case you might not want to use this.
- Allows you to ferment at higher temperatures. Under pressure, the usual off-flavours produced by hotter fermentation temperatures are suppressed.
- Increases hop flavour. Capping the fermentation and fermenting under pressure keeps hop oils in the beer for maximum aroma and flavor.
I'm always looking for a way to improve the quality of my beers, and for 50 bucks, I was willing to give this a try.
Setting up the Fermenter
When the box first arrived it came with no instructions, so I watched the following video to get everything up and running. I was up and running in less than 5 minutes - the setup is super easy.
Once everything was good to go, I filled it with Starsan and water. I pressurised the fermenter to 10 PSI to test if it was leak proof. It sure was!
The Brew
In order to give the Fermenter King Junior its maiden voyage, I brewed a simple Hazy Pale Ale with a fair amount of hops in the Whirlpool. It's claimed that one of the benefits of fermenting under pressure is that it locks in a lot of the volatile hop aromas. I was hoping that this would be the recipe to do test this theory out.
My brewday was pretty straightforward and went off without any issues. Once complete, I filled the fermenter with wort and pitched the yeast.
In terms of dry hopping, I didn't want to have to open the fermenter (and introduce oxygen) in order add the hops, so I added them directly at the same time that I pitched the yeast.
Once the beer was finished fermenting, I transferred it to one of my Corny Kegs as I know it fits perfectly in my Kegerator. I sanitised the corny keg and purged it with CO2. Next, I connected the two beer posts together and the beer moved from one keg to the next - hooray!
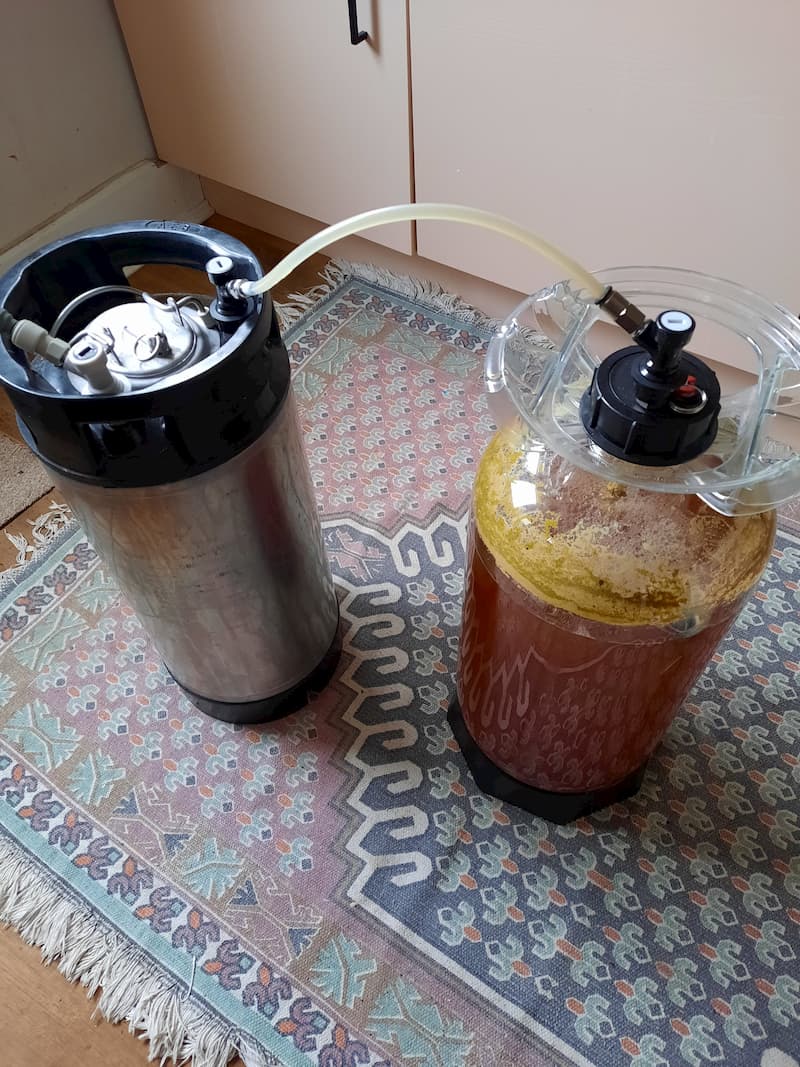
Once the beer was in the Corny Keg, I cold crashed the beer overnight and then waited a few days before tasting. Once the beer was carbonated I gave it the first pour. Delicious!
Final Thoughts
All in all, I am glad I bought the Fermenter King Junior. It was easy to set up and even easier to use. Whether you believe the hype of pressure fermentation or not, I would definitely say that this is a great way for anybody to get into kegging. In the UK, it is cheaper to buy the Fermenter King Junior than a refurbished Corny Keg. Of course a Corny Keg is sturdier and will last longer, but this is a great way to get into pressure fermenting and score a keg at the same time.
Whether this is a placebo effect or not, I can honestly say that the aroma of this beer is amazing. In fact, it's better than any other beer I've brewed!
Here are my honest thoughts on the pros and cons of the Fermenter King Junior:
Pros
- It uses a lot less CO2 as the beer carbonates itself.
- If sealed correctly, there is zero oxygen intake from the time you pitch the yeast. Very cool!
- Affordable.
- Super easy to set up.
- Ability to dry hop under pressure.
Cons
- I needed to purchase spunding valve to attach to the gas disconnect in order to control the internal pressure of the fermenter. If you want to ferment under pressure, you really need to buy one of these. I was quite surprised by the amount of CO2 generated during fermentation!
- The Fermenter King Junior is a little bit bigger than a corny keg, so it doesn't fit in my kegerator (that's my problem though). Don't be fooled by the name Junior! It is still the same size as a normal corny keg (if not wider).
- The beer out post clogged for me when I dry hopped with loose hops. The second batch I brewed with this fermenter, I chose to use a stainless mesh filter which worked perfectly.
- The disconnects posts feel a little flimsy, but to be honest, they seemed to work perfectly for me.
- Cleaning the fermenter is a pain in the ass! The mouth of the fermenter is quite small and you can't get a hand in there like you can with a corny keg. I resorted to filling it with PBW and shaking aggresively. This seemed to do the trick!